News
Contact UsHow To Make The Wall Of The Pocket Door
-
 author
- 23 January 2025
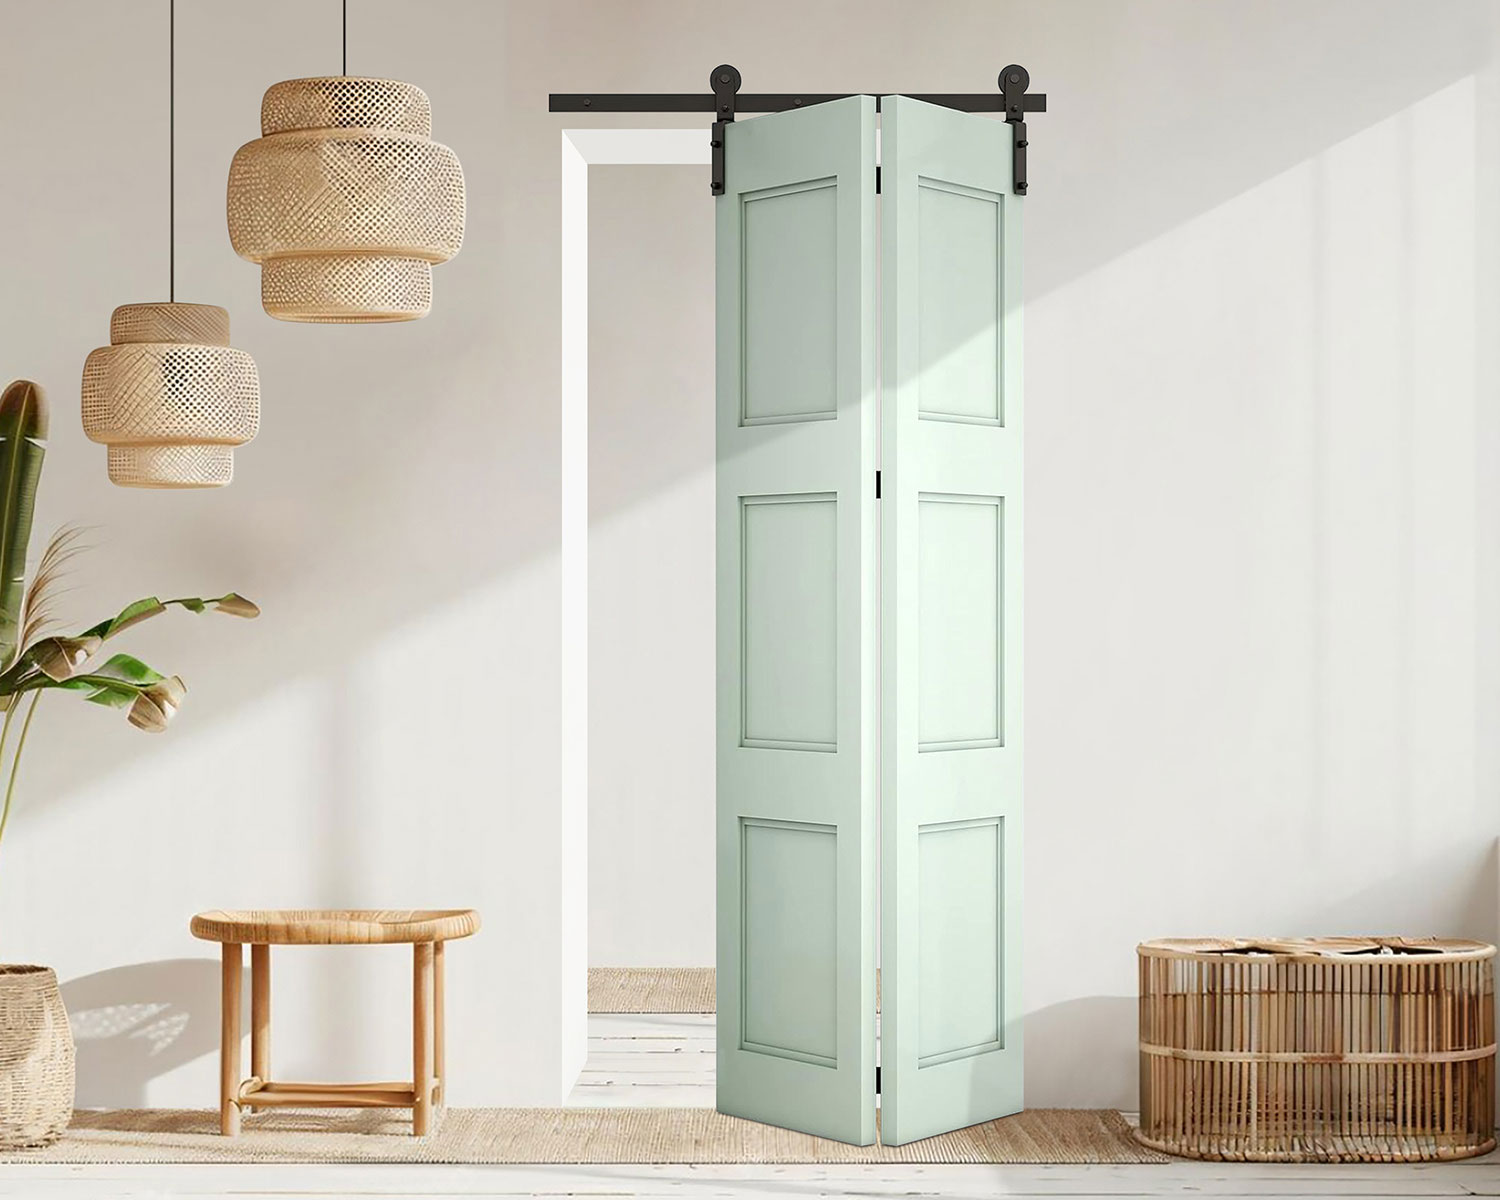
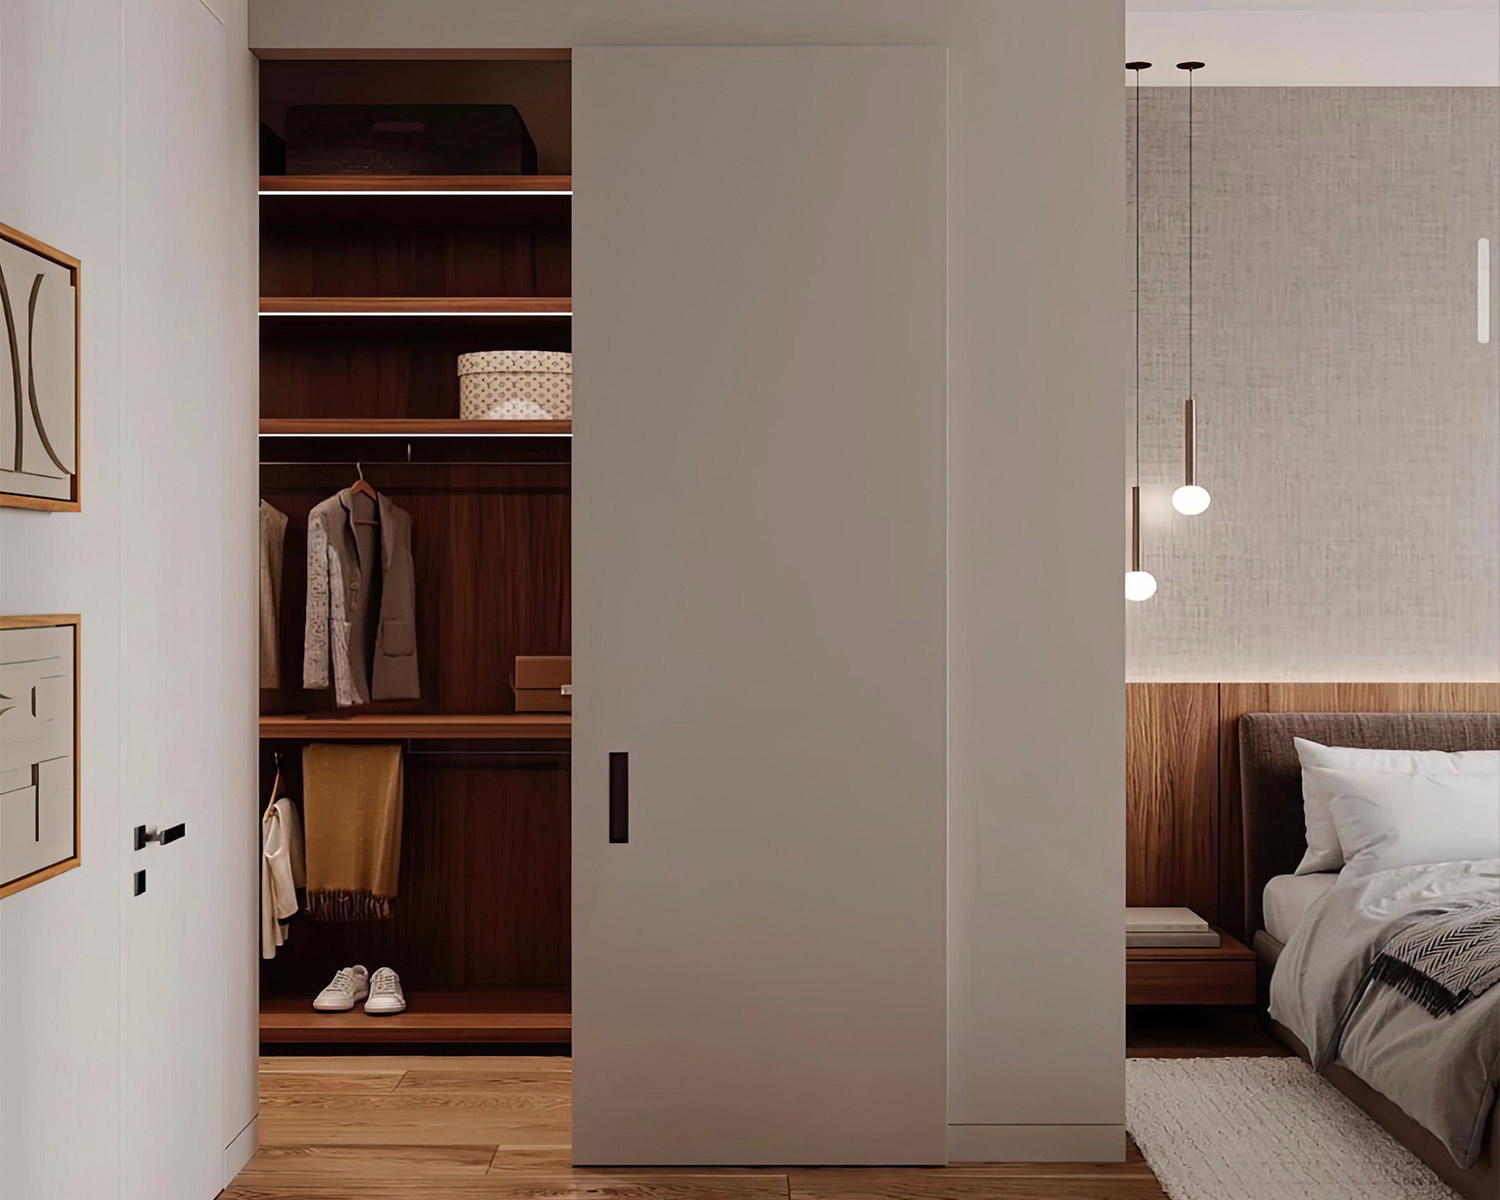
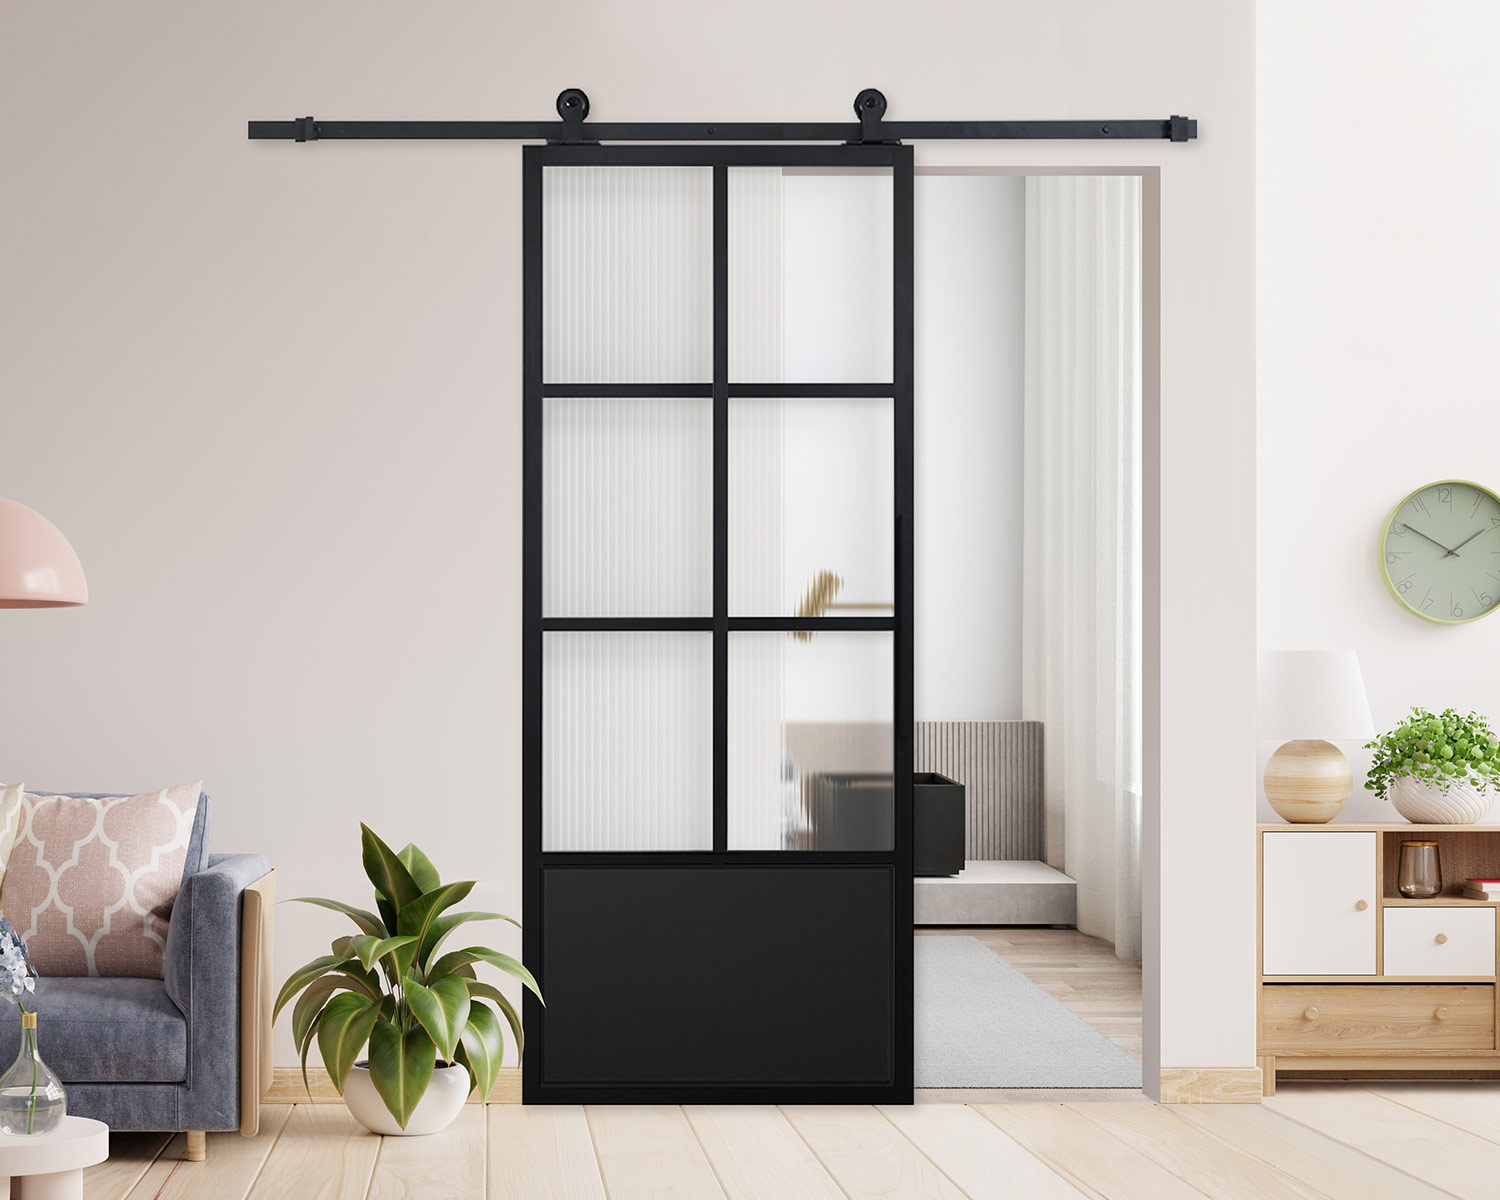
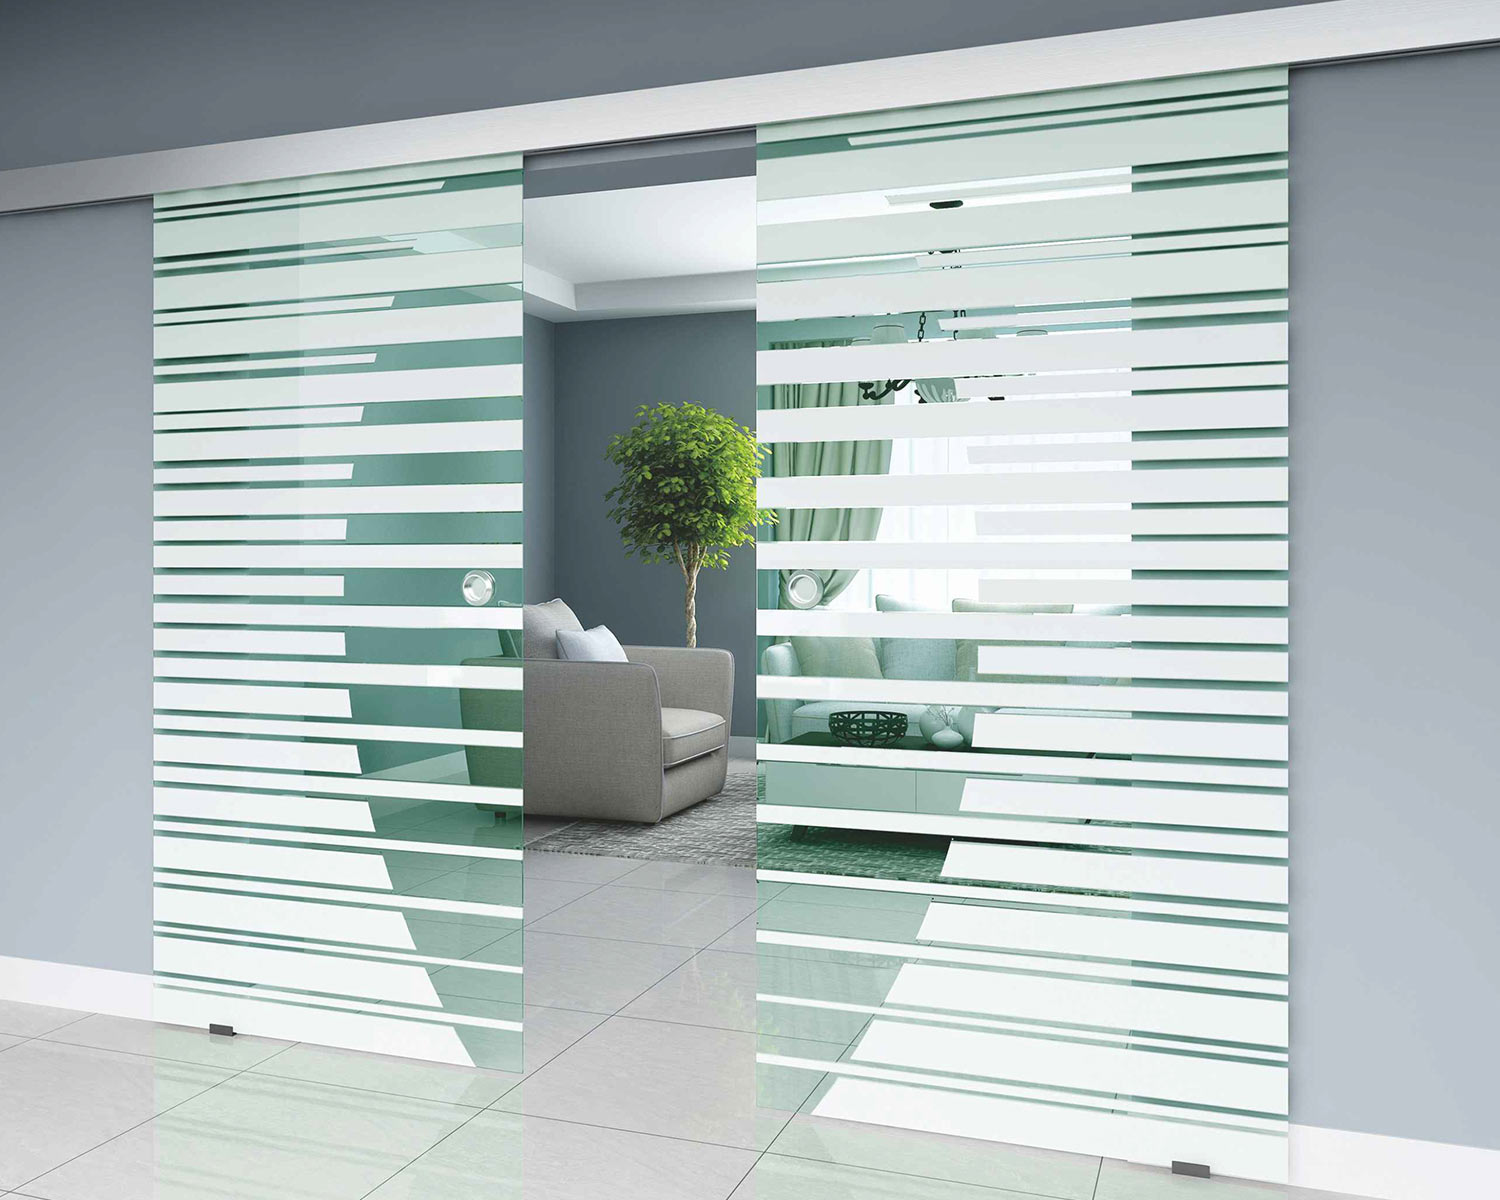
A pocket door is a door that can be hidden in the wall, it does not take up additional space, and is suitable for installation in areas with more compact space, such as bathrooms, cloakrooms, etc. The following introduces you to the common pocket door wall practices:
Materials and tools:
The materials to be prepared include keels (light steel keels or wooden keels), drywall, expansion screws, self-tapping screws, sound insulation foam (optional), and woodboard (reinforcement required). Tools include electric drill, screwdriver, tape measure, level, cutting machine, hammer, etc.
Determine the position and size of the door:
Use a tape measure to accurately measure the position and size of the door, and determine the opening direction of the pocket door and the thickness of the wall. In general, the thickness of the pocket door wall is thicker than the ordinary door wall, usually around 12-15 cm, to accommodate the door sliding inside the wall. According to the size of the door, determine the installation position of the track and mark it on the wall.
Build the Keel Frame
Light steel keel:
In accordance with the marked position, install the top keel and the floor keel first, and use expansion screws to fix them to the ceiling and floor. Make sure the keel is level and firm. Then install the vertical keel, according to the width of the door and the specifications of the keel, determine the spacing of the vertical keel, generally 40-60 cm. Insert the vertical keel between the top keel and the ground keel and secure it with self-tapping screws.
Wooden keel:
If you choose wooden keel, also install the top and bottom of the wooden square first, with expansion screws or wooden wedges and nails fixed. Then install the vertical wooden keel, pay attention to the wooden keel to fire and anti-corrosion treatment. The connections between the keels can be made using nails or wood screws.
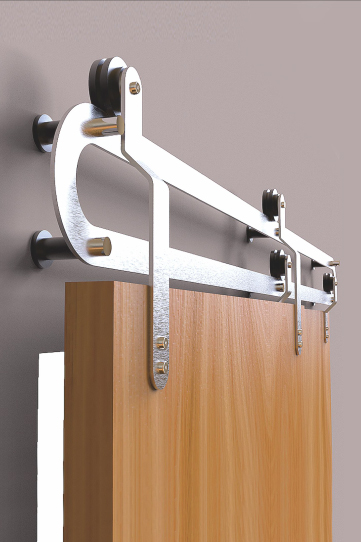
Install track:
After the keel frame is built, install the track of the pocket door in the predetermined position. Screw the track to the keel according to the type of track and the instructions. Make sure the rails are installed level, otherwise the door may get stuck when sliding.
Install sound insulation cotton (optional) :
If there are high requirements for sound insulation, you can fill the keel frame with sound insulation cotton. Cut the sound insulation cotton to the appropriate size and fill it between the keels, taking care to fill evenly without leaving gaps.
Install one side drywall:
After the rails are installed, install the drywall on the side of the pocket door first. Cut the drywall to size, cover the keel frame, and secure the drywall to the keel with self-tapping screws. The screw spacing is generally 15-20 cm, and the screw head should be slightly lower than the surface of the gypsum board.
Install and debug the door:
Install the door panel of the pocket door through the track to check whether the door slides smoothly. If necessary, fine-tune the track to ensure that the door can be opened and closed properly.
Install the other side of the drywall:
After the door is adjusted, install the other side of the drywall, also with self-tapping screws. After the installation is completed, the wall is treated with putty and sandpaper to make its surface smooth and smooth, and finally the decoration of paint or wallpaper.
During the entire construction process, it is necessary to operate in strict accordance with the construction specifications to ensure the quality of the wall and the normal use of the pocket door.

Our Products
Our Products


our testimonials
What They Say About Our

"We trust Metek, have always had a very good relationship with each of you folks;
Metek is reliable, not only as business partner, but also friends.
You can tackle issues; you can go on and move on.
And that’s what’s we did—together with all Metek!"

"Metek is 10 years old, and we have been working with Metek for more than 8 years.
We still welcome progressing and achieve more than what we did last year.
And it is big achievement, which was done at Metek last ten years.
In the next decade, we will keep going and develop the Australian market together."

"To all Metek members
We now work six years together,we still grow together with Metek, with one of our best suppliers in China.
Why are you one of the best?
It’s because you help us to create our market; you help us to create new products; and you help us to get the right quality; you help us to wonder our issues.
You know, you are all very good educators; you understand our language; you understand us as customer.
And I think that makes the partnership show you are together.
And I hope for the next years, we can still work together, and move on together into your future creative, beautiful products."